Understanding VHS to Digital Conversion
In the digital age, preserving memories captured on old media formats such as VHS tapes has become a pressing concern for many households. The transition from VHS to digital not only safeguards cherished moments but also enhances accessibility and longevity of these recordings. This comprehensive guide will delve into the intricacies, advantages, and methodologies associated with converting VHS to Digital. Whether you want to embark on a DIY project or seek professional assistance, understanding the process is pivotal.
What is VHS to Digital?
VHS to Digital conversion refers to the process of transforming video recordings stored on VHS tapes into a digital format that can be easily stored, accessed, and shared. This process can involve various technologies and methods, depending on the desired quality and the resources available.
Why Convert VHS to Digital?
The primary motivations for converting VHS to digital include:
- Preservation: VHS tapes degrade over time. Moisture, heat, and general wear and tear can cause tapes to deteriorate, making the videos unwatchable. Digital formats, on the other hand, do not suffer from the same physical degradation.
- Accessibility: Digital files can be accessed on multiple devices, including computers, smartphones, and TVs. Unlike VHS tapes that require specific players, digital files are versatile and convenient.
- Enhanced Quality: Many digital conversion techniques allow for improved video quality, such as stabilization, noise reduction, and color correction.
- Storage: Digital files take up less physical space than their VHS counterparts, making them easier to manage and share.
Common Formats for Digital Video
When converting VHS to digital, several formats can be utilized. The most common include:
- MP4: This widely-used format offers high compression rates while maintaining quality, making it ideal for streaming and sharing.
- MOV: Developed by Apple, this format is often used for quick editing and is compatible with many devices.
- AVI: This format is known for its high quality but can result in larger file sizes.
- MPEG: This format offers excellent quality and compresses well, which suits online sharing and storage needs.
Popular Methods for VHS to Digital Conversion
There are several approaches to converting VHS tapes to a digital format. Choosing the right one depends on your technical skills, budget, and the volume of tapes you need to convert.
DIY Conversion Techniques
For the hands-on individuals, DIY conversion techniques can be both fulfilling and economical. Common methods include:
- Using a VHS Player with a Digital Converter: This method requires a VHS player, a video capture device, and a computer. The video capture device connects to the VHS player via RCA cables and transfers the video to your computer. Examples of digital conversion devices include EasyCap and Elgato Video Capture.
- Using a DVD Recorder: In this quick method, you can connect your VHS player directly to a DVD recorder and create a DVD of your VHS tapes. This method is fairly straightforward, but the quality may not be as high as using a dedicated video capture device.
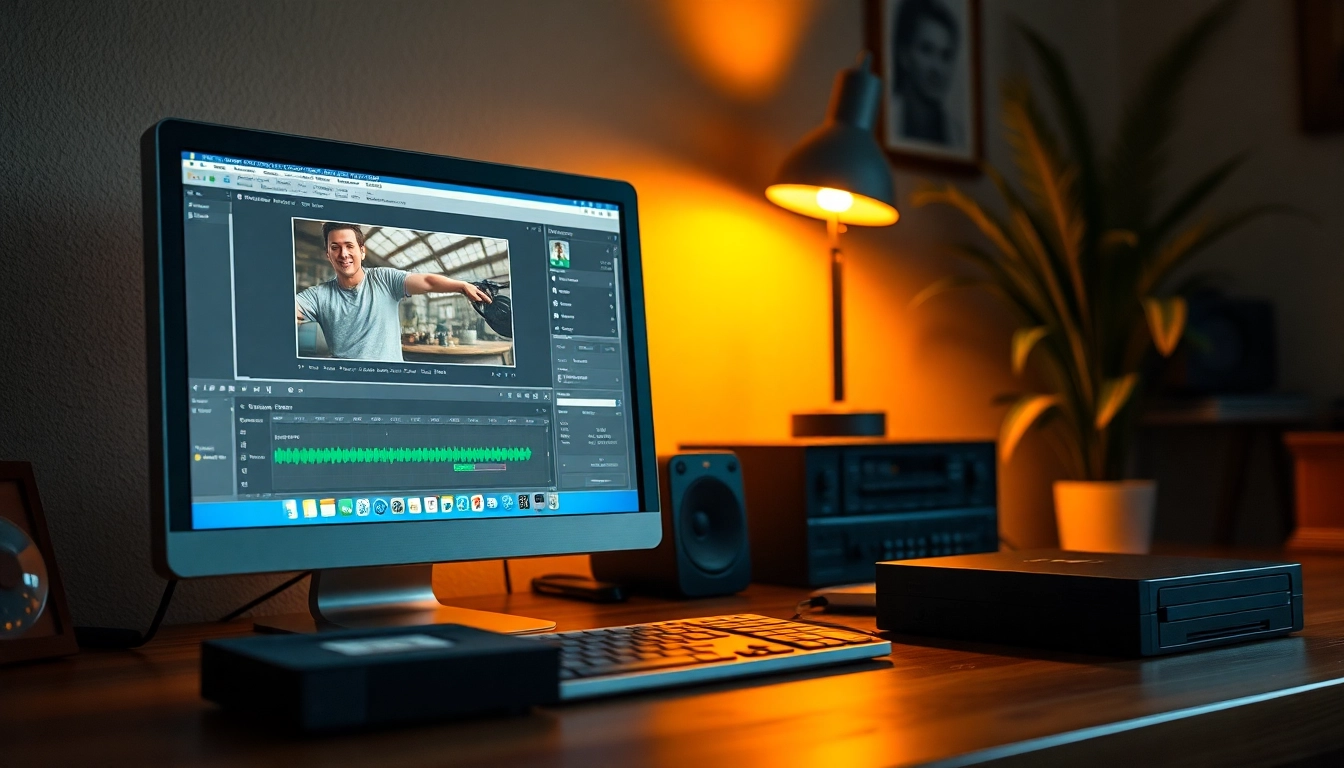
- Utilizing Software Solutions: If you prefer a software approach, applications like Adobe Premiere Pro, Final Cut Pro, or more specialized tools can help in capturing and editing video from your VHS tapes.
Professional Conversion Services
If DIY methods seem tedious or if you have a high volume of tapes to convert, professional services can be a worthwhile investment. Here are some factors to consider:
- Quality of Service: Professionals often use high-grade equipment and techniques that produce superior results compared to consumer-level options.
- Convenience: Outsourcing the work saves you time and hassle, allowing you to focus on enjoying your newfound digital content.
- Preservation: Many professional services offer additional services such as restoration and remastering to improve the quality of your original tapes.
Choosing the Right Equipment
If you opt for a DIY approach, selecting the right equipment is crucial. Key components include:
- VHS Player: Ensure it’s functional and compatible with your capture device.
- Video Capture Device: Invest in a quality device that suits your needs. Research options like the Elgato Video Capture or ClearClick Video to Digital Converter.
- Computer with Sufficient Storage: Digital files can take up considerable space, so ensure your computer has ample storage and a good processing capability.
- Video Editing Software: Programs such as iMovie, Adobe Premiere, or free alternatives can enhance your final digital files.
Step-by-Step Guide for Converting VHS to Digital
Now that you understand the methods and equipment, let’s dive into the step-by-step process of converting your VHS tapes to digital format.
Preparing Your Equipment
Before starting the conversion, preparation is key. Follow these steps:
- Check that your VHS player is functional and clean. Dust and dirt can impact video quality.
- Connect the video capture device to your computer and install any necessary drivers or software that come with it.
- Gather the necessary cables (RCA or RF as needed) to ensure all devices connect properly.
Conversion Process Overview
The conversion process generally follows these steps:
- Playback the Tape: Insert the VHS tape into the VHS player and prepare for playback.
- Launch the Capture Software: Open your video capture software on your computer. In many cases, this software will guide you through the setup.
- Start the Capture: Begin the playback of the VHS tape and start the capture in your software to begin digitization. Monitor the process for any issues.
- Stop the Capture: Once the tape finishes playing, stop the capture. Save the file in your desired format.
- Edit and Export: If needed, use video editing software for final touches before exporting the digital file.
Troubleshooting Common Issues
As with any technical process, challenges may arise. Here are some common problems and their solutions:
- Screen Flickering: This might indicate a poor connection or faulty cables. Check all cables and connections, and try again.
- No Sound: Ensure the audio cables are correctly connected, and check the audio settings in your software.
- Incomplete Transfers: If your software crashes or your computer becomes unresponsive, try again with a smaller segment of the tape initially to troubleshoot.
Tips for Enhancing Your Digital Videos
Once your VHS tapes are converted into digital files, it’s time to enhance their quality. Here are some tips to improve your digital videos:
Editing Your Videos Post-Conversion
Editing can dramatically improve the enjoyment of your digital videos. Here are some useful editing steps:
- Cuts and Transitions: Remove unwanted portions and add smooth transitions between sections using editing software.
- Noise Reduction: Use noise reduction features in editing software to improve sound quality.
- Color Correction: Adjust brightness, contrast, and color to enhance visual appeal.
Using Digital Storage Options
Choosing the right storage solutions is vital for safeguarding your digital memories:
- External Hard Drives: For large files, external hard drives provide ample space and portability.
- Cloud Storage: Services like Google Drive, Dropbox, and others provide online solutions for backing up and accessing your video files from anywhere.
- DVDs and USB Drives: These are great for physical backups and easy sharing but can degrade over time.
Optimizing Video Quality
Making your digital videos as good as possible involves some optimization:
- Formats and Resolutions: Save your videos in high-definition formats such as MP4 or AVI and at higher resolutions for better quality.
- Metadata Tags: Add relevant tags to your digital files for easy searching and organization later.
Future-Proofing Your Memories
As technology evolves, ensuring that your digital memories remain accessible is essential. Here are ways to future-proof your collections:
Backing Up Your Digital Content
Establish a healthy backup routine:
- 3-2-1 Backup Strategy: Keep three copies of your data: one primary and two backups (both onsite and offsite).
- Regular Updates: Refresh your backups periodically to ensure formats remain compatible with current technologies.
Sharing Your Videos Online
Sharing your memories with friends and family has never been easier:
- Social Media: Consider uploading short segments to platforms like Instagram and Facebook.
- YouTube: Create a private channel where you can upload and share family videos with selected audiences.
- Family Cloud Drives: Establish a family drive using Google Drive or Dropbox, where all members can access and add memories.
Long-term Preservation Considerations
To ensure your videos remain intact for future generations:
- Format Migration: As file formats and technologies evolve, consider migrating to new formats as necessary to maintain accessibility.
- Regular Check-ups: Periodically review your digital collections to ensure the files remain functional and that the storage media is in good condition.


